So maybe you just picked up a new lease during the offseason or recently gained access to hunt a dynamite piece of ground you’ve dreamed about for years, but now what? Where do you begin? For me, the first step in the entire process is plain and simple; setting trail cameras. This allows me to inventory deer on the property and gives me an idea of the caliber of deer in the area.
When it comes to summer scouting, it’s tough to beat the anticipation of checking a good trail camera in hopes of locating a trophy whitetail. What’s not to love? For hardcore whitetail hunters, it’s like Christmas morning every time we pull a card and sort through the pictures on our phone or computer. I personally look forward to checking trail cameras almost as much as the actual hunting itself and I love being able to share pictures with my friends and on social media. It helps scratch the itch before the weapon is in hand.
But sometimes trail cameras can become detrimental to hunting success if used improperly or in the wrong location. Sometimes we will do anything to get a giant on camera, even if it means potentially sacrificing an area to do so.
For most of us in the whitetail world, the season opener is only a short month away. If you’re behind the scouting ball game (like me) or you are starting from scratch on a newly acquired hunting property, here are a few helpful tips for late summer scouting utilizing trail cameras.
Low Impact Trail Camera Placement
I’m a firm believer in low impact hunting and my strategy for scouting and hanging trail cameras is no different. It’s tempting to dive in head first to quickly learn a property but its best to take the strategic approach and make as little of disturbance as possible when hanging and checking cameras. This means placing cameras in a location where there is a good amount of deer activity yet staying away from heavily timbered areas or bedding cover.
One of the better areas I’ve found to place cameras is along field edges because it offers consistent deer activity with easy access and low disturbance. One of the benefits of trail camera placement along these edges is the ability to drive a vehicle right up to the camera to swap cards without leaving scent on the ground.
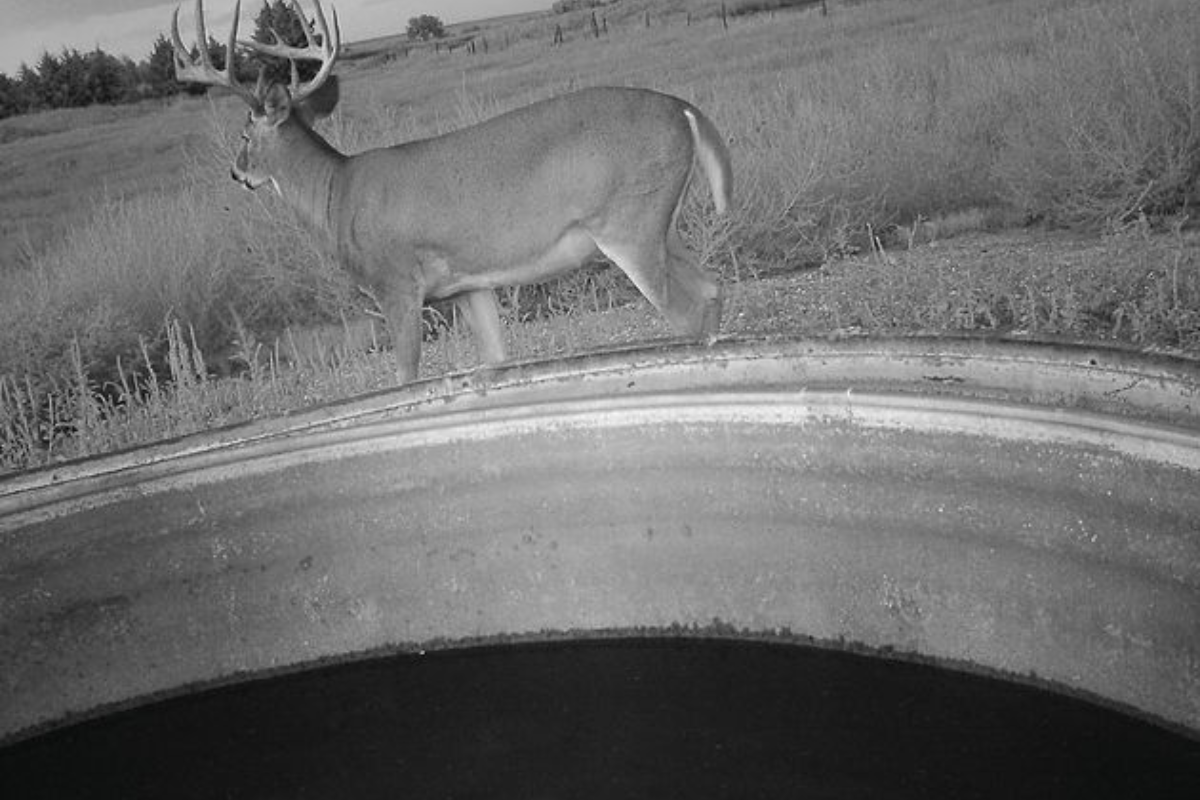
“Concentrated water sources are great locations to hang trail cameras during late summer.”
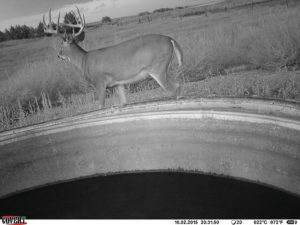
“A typical 12 point at a Big Tine trail cam site in front of a water tank.”
On one of my Kansas farms I put a camera over a water tank because it was a high traffic area due to the lack of water anywhere else in close proximity. I enhanced this location with the use of Big Tine and the deer sightings were outstanding.
Bring Deer In Front Of The Camera
Setting cameras in “low impact” areas can sometimes mean that deer traffic is less concentrated which makes it challenging to capture images of target deer. If you don’t have an ideal location like a water source or food plot, a great way to attract deer is with supplemental feeding. Big Tine 30-06 is a great supplement to put in front of cameras because it sparks interest and it will keep deer coming back on a daily basis, which will ultimately generate more pictures for your cameras.
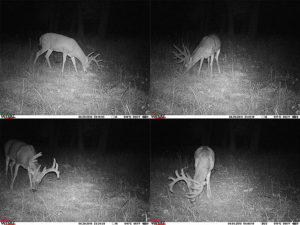
Last summer, I picked up a new farm in Western Kansas and really had no idea what the deer numbers were like in the area and more specifically, mature buck activity on that parcel. To gather some intel on that specific area, I grabbed a camera and put out a 40lb bag of Big Tine 30-06 and followed a field edge to what I thought might be a good transition area in a dry creek bed. To my dismay, I was not able to find much sign but I put out the Big Tine and strapped the camera to the tree anyway. Within a few days, I had multiple pictures of mature bucks in front of the camera and I was blown away.
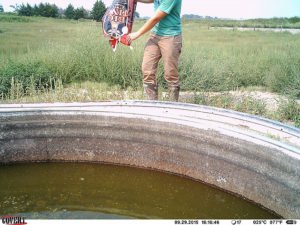
“Putting out Big Tine 30-06 is a great way to get an inventory of deer in the area.”
If it weren’t for pictures of these deer, I probably would have never hunted this area because my summer evening scouting endeavors and boots on the ground did not turn up anything worth pursuing. The cameras revealed that there were indeed mature bucks in the area and that was all I needed for motivation to hunt that farm. Big Tine played it’s role by getting deer to the camera and the rest is history.
Less Is More
We can sometimes get caught up in the “game” of checking trail cameras as we try to dissect each and every bit of the property in hopes of patterning a big buck. In some instances, trail cameras can become a hindrance to our deer hunting success if used in a manner that creates more harm than good. In my way of thinking, less is more.
If you are late to the party this year, your chances of patterning a hit list buck might be slim but the good news is that it does not matter. Focus your approach of gathering an inventory so that you know what you can expect from the property. Patterns change from summer to fall and most likely the movement you saw in August wont be the same come late October.
The number one goal to accomplish through trail camera scouting during late summer is to find out the caliber of deer that are on the property while maintaining low impact in your hunting areas. When the season comes around, you can then focus your efforts on killing that buck based on the current information at hand.
If you are getting big deer on camera, make sure to use the hashtag #bigtine to be featured on our Facebook, Twitter, and Instagram pages!
Every Inch Matters – Attract I Develop I Grow